
When it comes to routing and woodworking, the baseplate or router plate plays a crucial role in ensuring clean, accurate cuts. The Torx 25 router plate is a versatile and reliable component, particularly when custom-designed for your specific project needs. Thanks to 3D printing, you can now build this workshop essential at home, fitted perfectly for your router setup. This article explores everything you need to know to 3D print a Torx 25 router plate, from file sources and design ideas to recommended materials and finishing touches.
What Is a Router Plate?
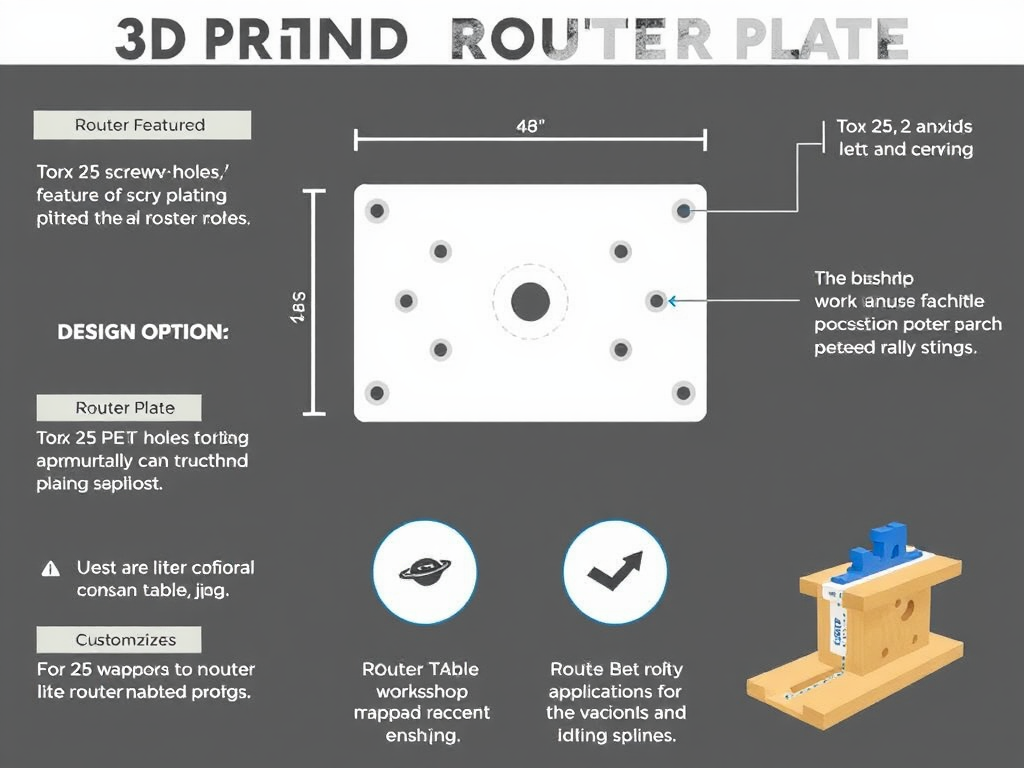
A router plate is the base of a router that helps stabilise the tool as it moves across a surface. Your custom-designed Torx 25 router plate lets you firmly attach it to a router table or jig since it has holes or inserts matching T25 screws.
Usages Often
- Serving as the router’s foundation for tabletop routing
- Maintaining regular contact and spacing
- Allowing height changes or insert modifications
- Assisting templates, barriers, or guidelines
Why 3D Print a Router Plate Torx 25?
3D printing this component has many benefits:
- Personalisation: Change the size of your tools, plate thickness, and hole locations.
- Rapid Prototyping: Rapidly evaluate various sizes or setups.
- Savings on cost: Print rather than purchase commercial versions or aluminium.
- Lightweight: Ideal for use on benchtops or portable systems.
Whether you’re a professional or a hobbyist, this is a simple way to improve your workstation.
Choosing the Right Filament
Router plates take some stress, so you’ll want materials with strength and resistance to wear:
- PETG: Best all-around material for rigidity and light impact resistance
- ABS: Handles higher temperatures, suitable for workshop environments
- Nylon: Very tough and flexible; excellent for repeated mounting
- Carbon-Fibre Reinforced PLA: Lightweight and strong, with great dimensional stability
Avoid standard PLA for long-term use—it can warp under heat or pressure.
Best Print Settings for Accuracy and Strength
- Layer Height: 0.2 mm for a balance between detail and speed
- Infill: 60–80% for strong mechanical performance
- Wall Thickness: 3–5 walls
- Bed Adhesion: Use a brim or raft if printing large plates
- Print Speed: 40–60 mm/s
- Supports: Only required for embedded slots or recessed sections
Calibrate your machine before printing to ensure flatness and accuracy of holes.
Where to Find or Create STL Files
Pre-made router plate files are available at:
- Thingiverse – Search “router plate,” “router base,” or “T25 router mount”
- Printables – Models tested by makers for fit and strength
- Cults3d – Premium router accessory designs
Want to build your own? Try:
- Fusion 360 or Freecad for precise custom design
- Tinkercad for quick adjustments to existing templates
Make sure to match screw hole spacing and bit clearance to your router model.
Post-Processing and Mounting
Once printed, here are tips to finish and install your router plate:
- Sand edges and openings to reduce burrs
- Drill out or ream holes to fit Torx 25 screws cleanly
- Use brass inserts or press-fit nuts for long-term strength
- Label measurements or alignment marks with paint pens or decals
- Secure your plate with appropriate T25 screws or anchors to a router table or bench.
Workshop Applications
- Custom router tables or router sledges
- Flush trim or pattern routing setups
- Portable bases for on-site routing jobs
- Precision setups for template work
- DIY jigs for repetitive cutting or inlay tasks
Printed plates are also great backups or test bases before buying expensive hardware.
READ MORE- 3D Print Torx 25 Router Jig: DIY Precision for Your Workshop
FAQs:
- Will a 3d-printed router plate hold up under pressure?
Yes, if printed with strong materials like PETG or carbon fibre PLA and mounted securely. - Can I make the plate fit my exact router?
Absolutely. Use calipers to measure your base and adjust a model in CAD software. - What thickness should the plate be?
Typically between 3 mm and 6 mm, depending on the compatibility of your router’s base and table. - Do I need to use metal inserts for screw holes?
For longevity, yes. Heat-set inserts or nuts improve hold strength. - Can I use this with a router lift?
Yes, as long as the dimensions and screw holes match the lift design.
Conclusion:
A 3D printed Torx 25 router plate is an excellent project for any maker looking to personalise their tool setup. With a little design effort and the right filament, you can create a reliable, repeatable baseplate that adds function, accuracy, and convenience to your routing jobs. Forget off-the-shelf print it your way.
